How to Flip an Image in Google Docs on PC and Phone

Flipping an image is entirely different from rotating it. To flip an image means to mirror it. The result of flipping an image is similar to the reflection you see after placing it before a mirror.

You can either flip an image vertically or horizontally. In the case of the former, you reverse the bottom and the top. On the other hand, flipping horizontally reverses the left and right sides. To flip an image on Google Docs, here are the steps you need to follow.
How to Flip an Image on Google Docs for Desktop
To flip an image on Google Docs requires the use of the Drawing Tool. Follow the steps below to see how it works:
Step 1: Launch Google Docs in a browser on your computer
Step 2: Open the document with the image to be flipped.
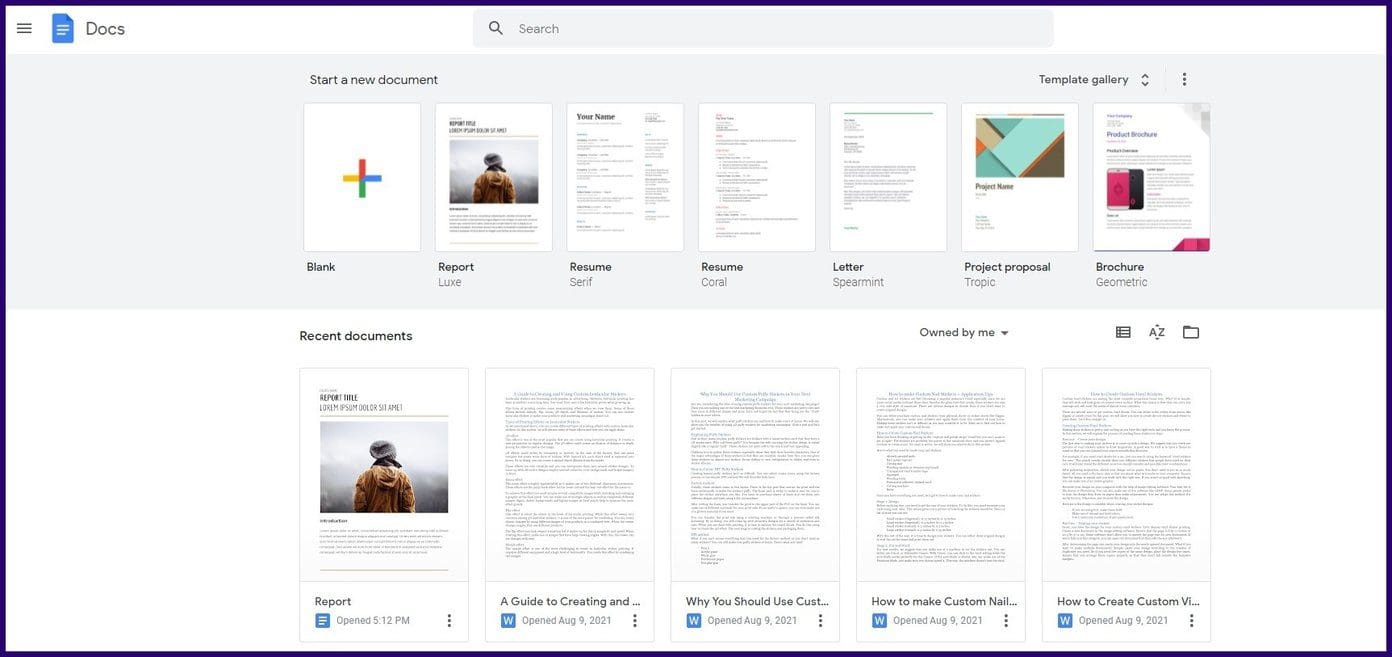
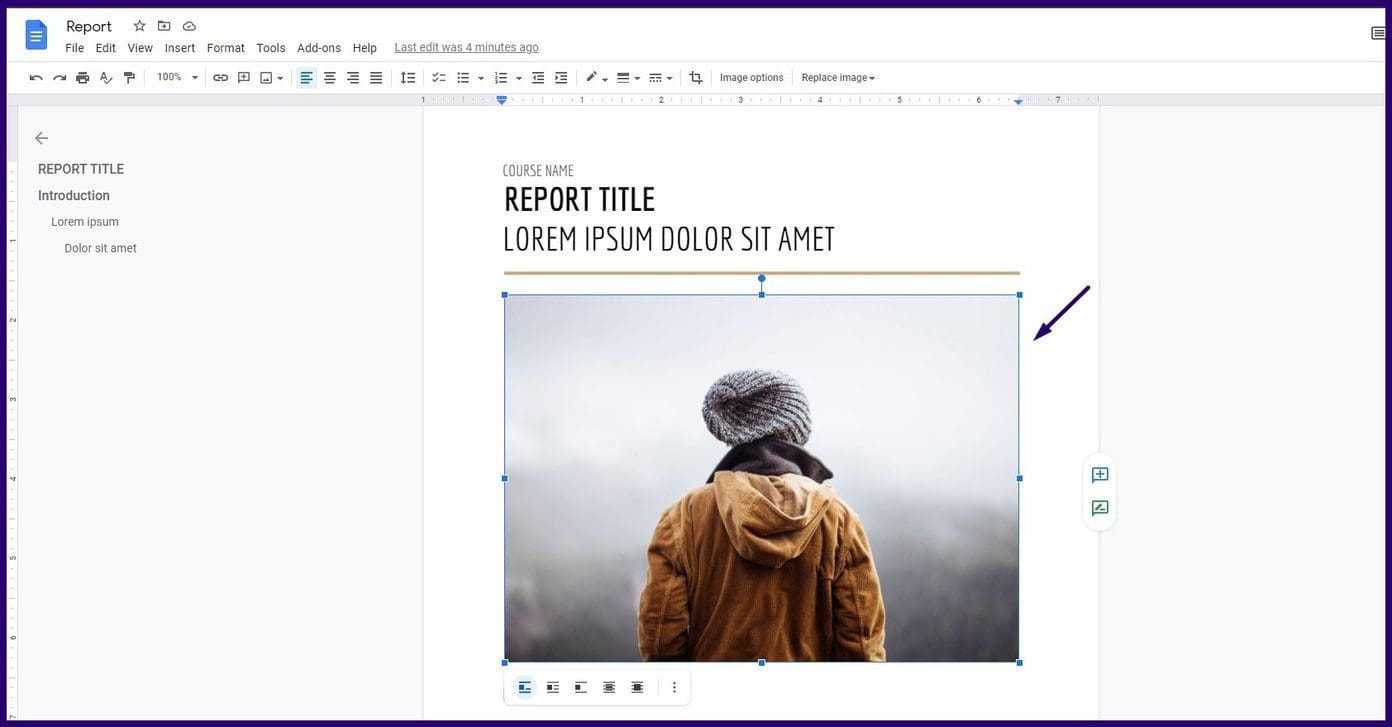
Step 3: Select the image in the document and right-click on it.
Step 4: From the list of options, select Cut to save the image on your clipboard.
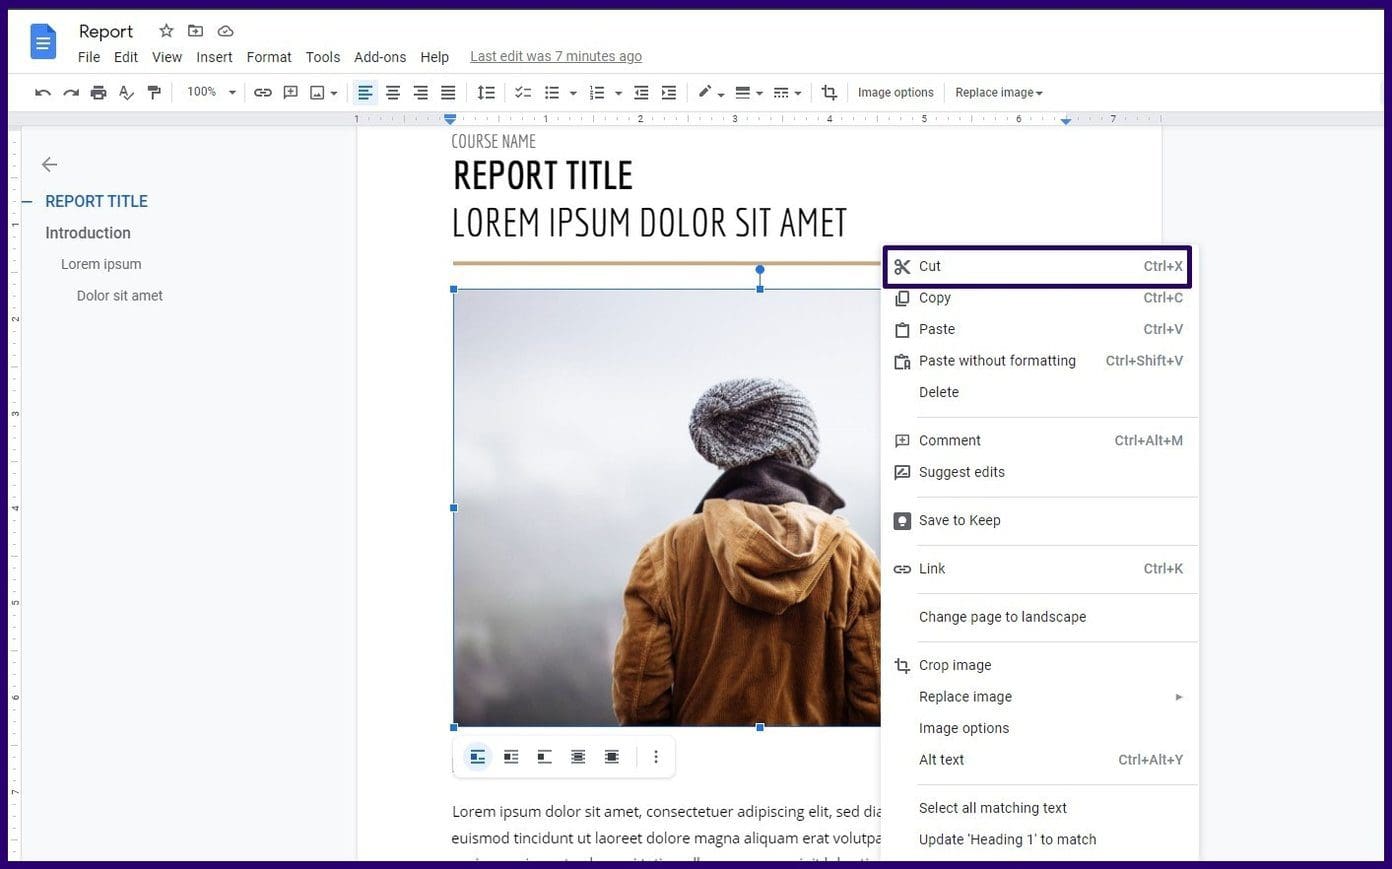
Tip: Alternatively, you can select the image and then press CTRL + X simultaneously on your keyboard to cut.
Step 5: From the Ribbon on the document, select, the Insert tab.
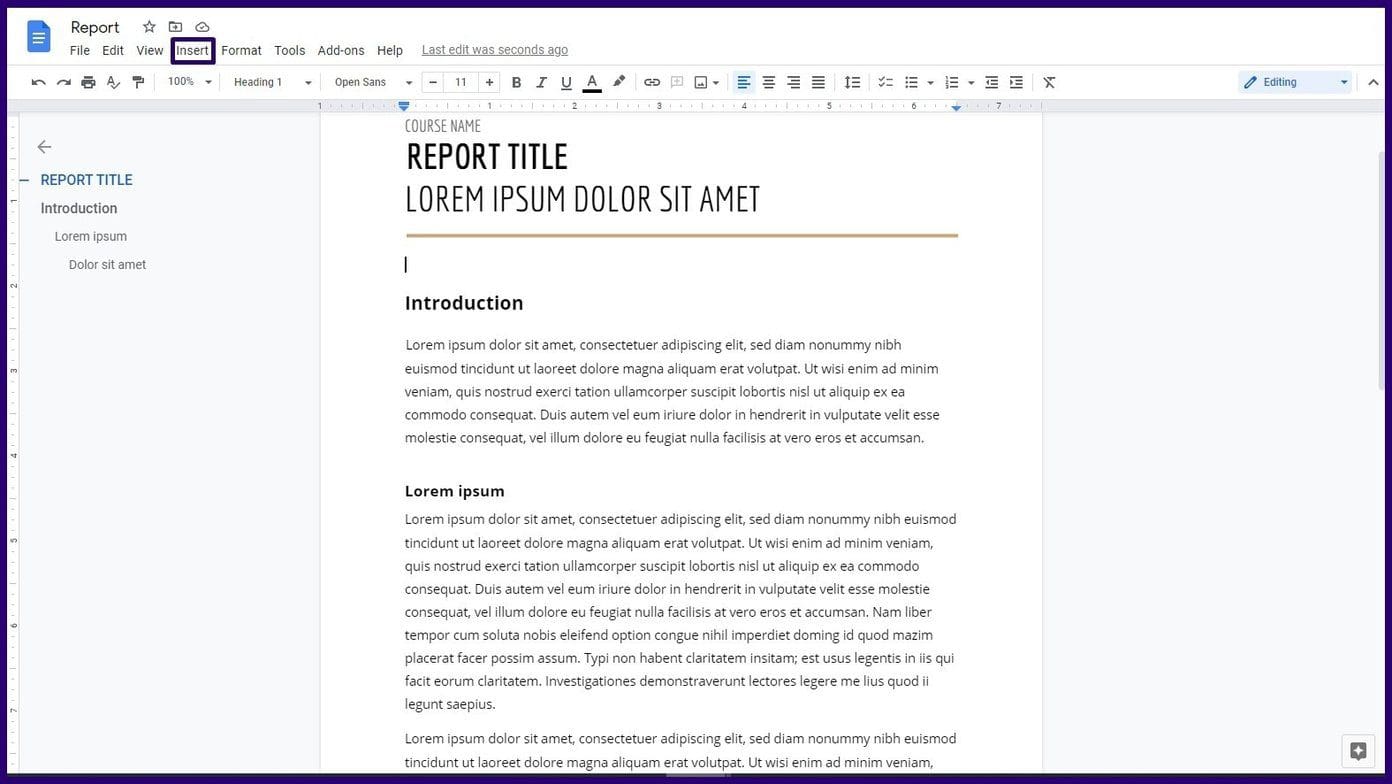
Step 6: Select Drawing from the list of options available.
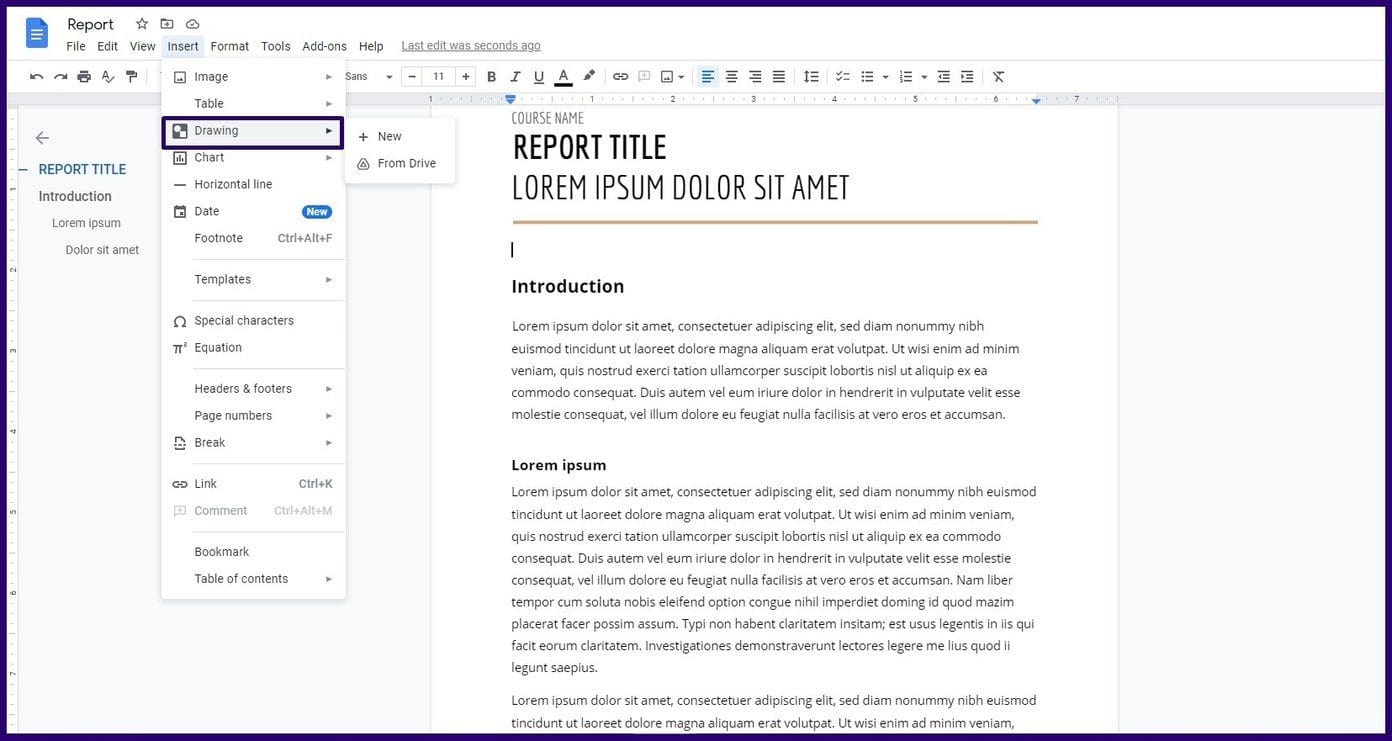
Step 7: Select New to launch the Drawing tool on Google Docs.
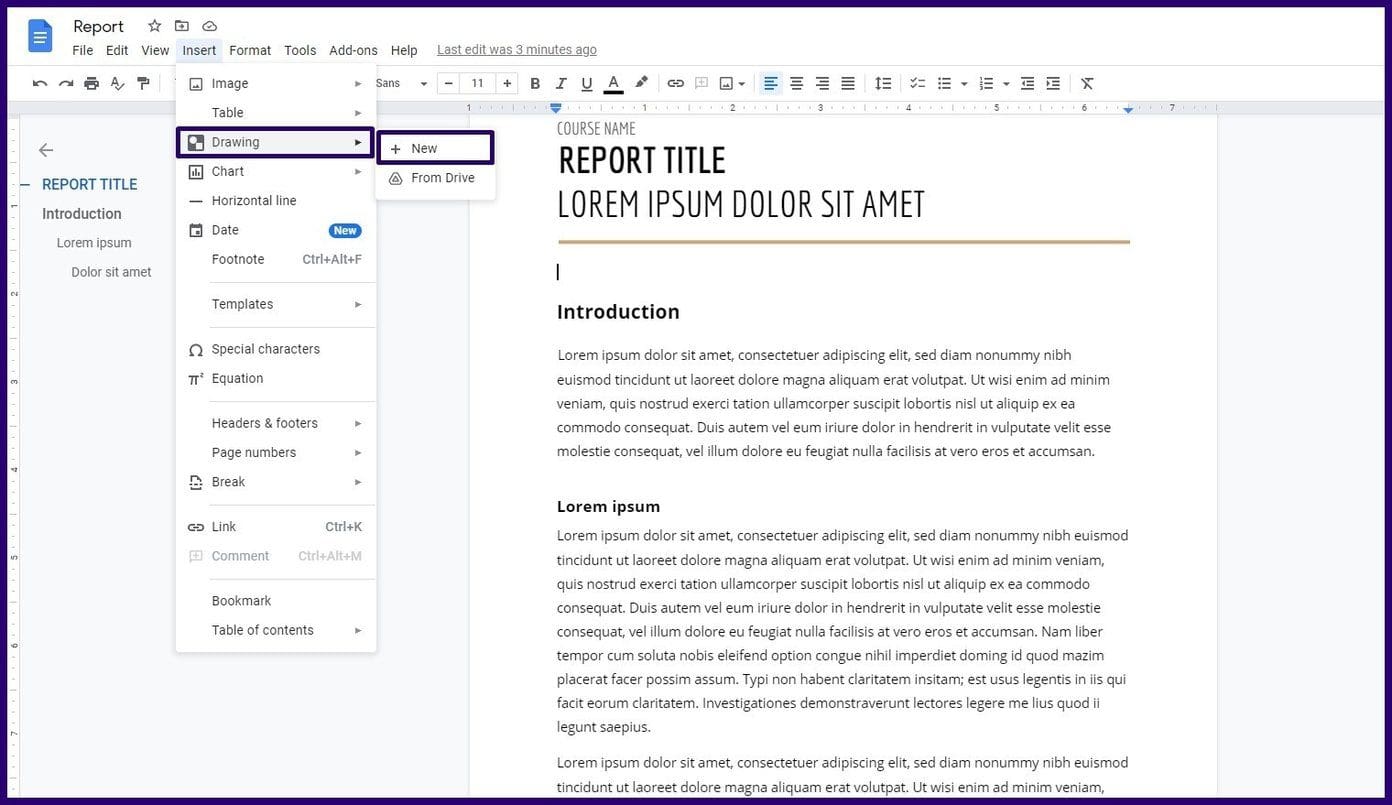
Step 8: Right-click on the Drawing tool and select Paste from the list of options. Once the image appears here, Google Docs highlights it automatically.
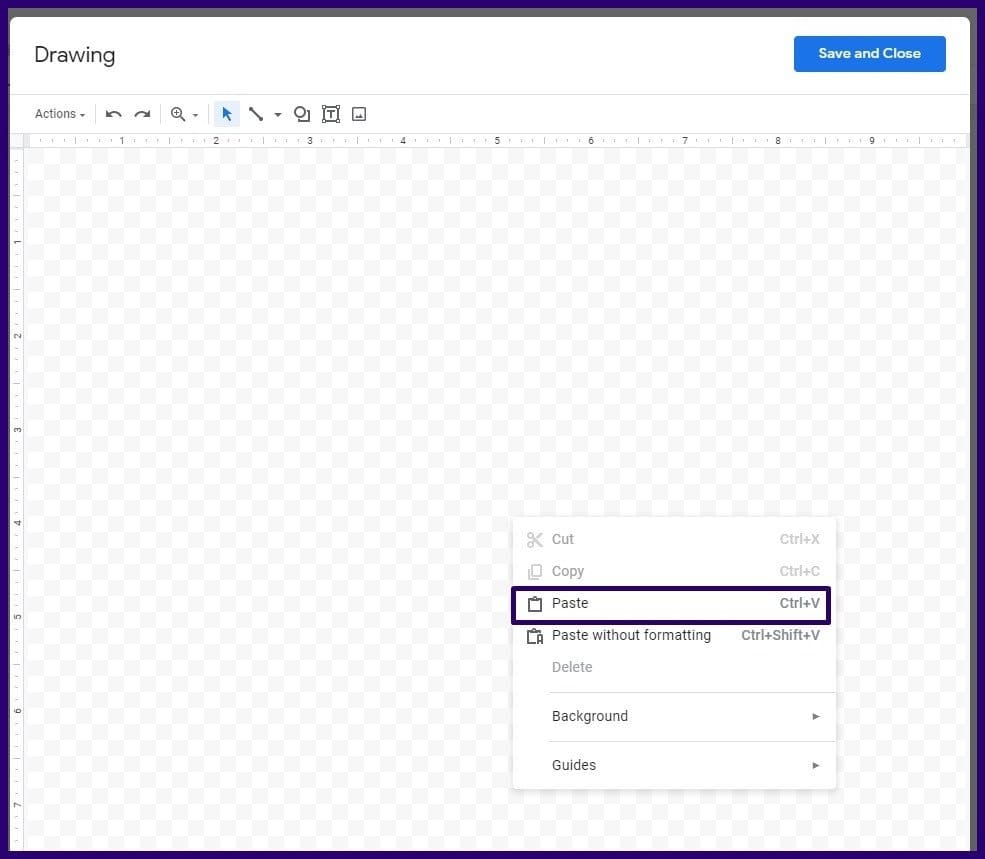
Tip: Alternatively, you can select the box and then press CTRL + V simultaneously on your keyboard to paste.
Step 9: To flip the selected image, click on Actions to reveal a drop-down menu showing a list of options.
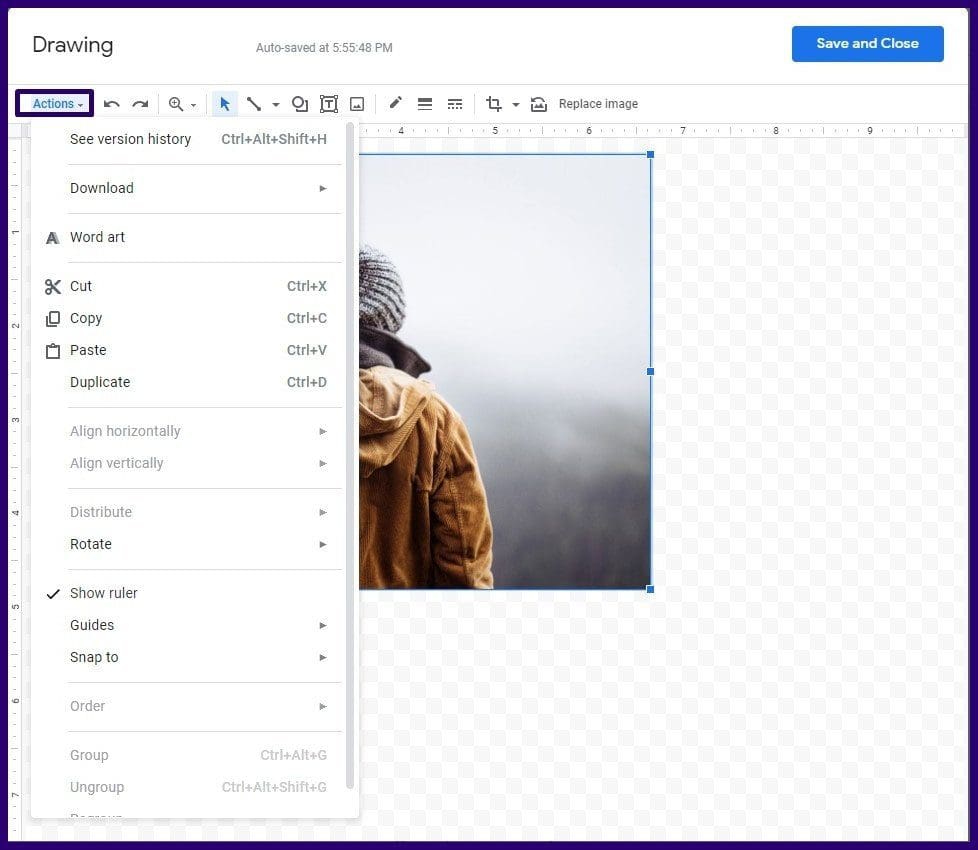
Step 10: Select Rotate from the options and choose either Flip horizontally or Flip vertically.
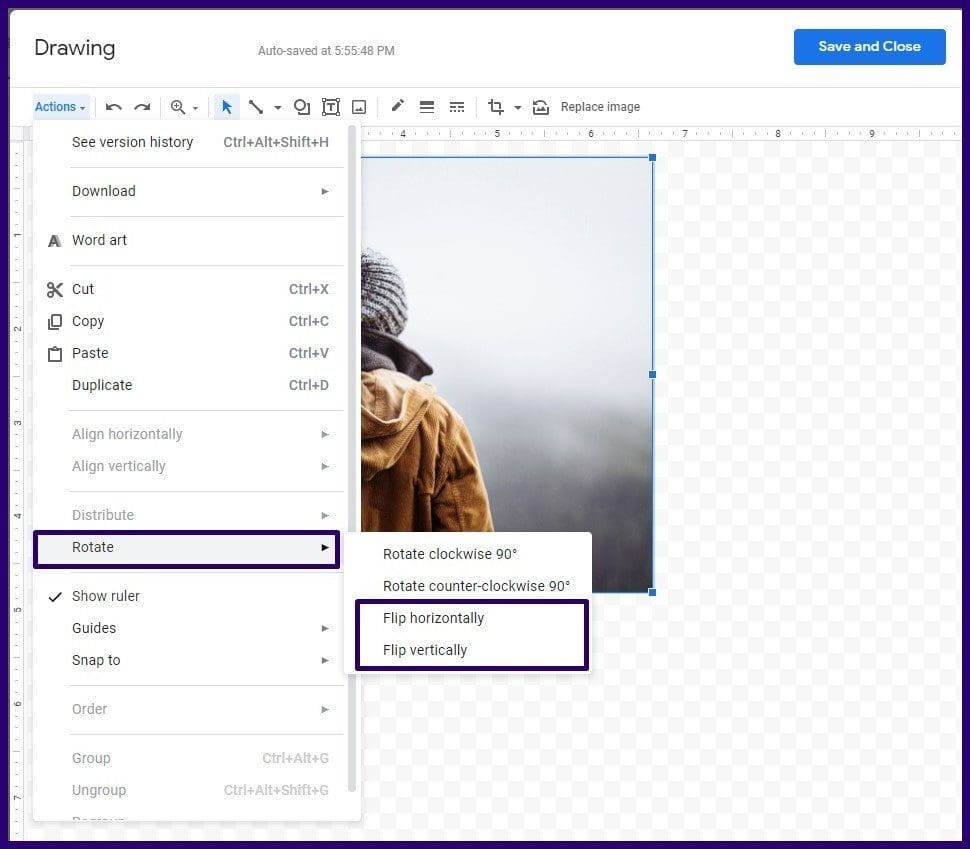
Step 11: Click on Save and Close to implement changes.

How to Undo Image Flip on Google Docs for Desktop
If you want to restore the flipped image to its original state, a simple press of the CTRL + Z keys on your PC should work. However, this only works if no other copy or paste action has been performed. If other actions have been performed, the image can be restored to its original state using version history. Here are the steps to follow:
Step 1: Launch Google Docs.
Step 2: Open the document with the flipped image.
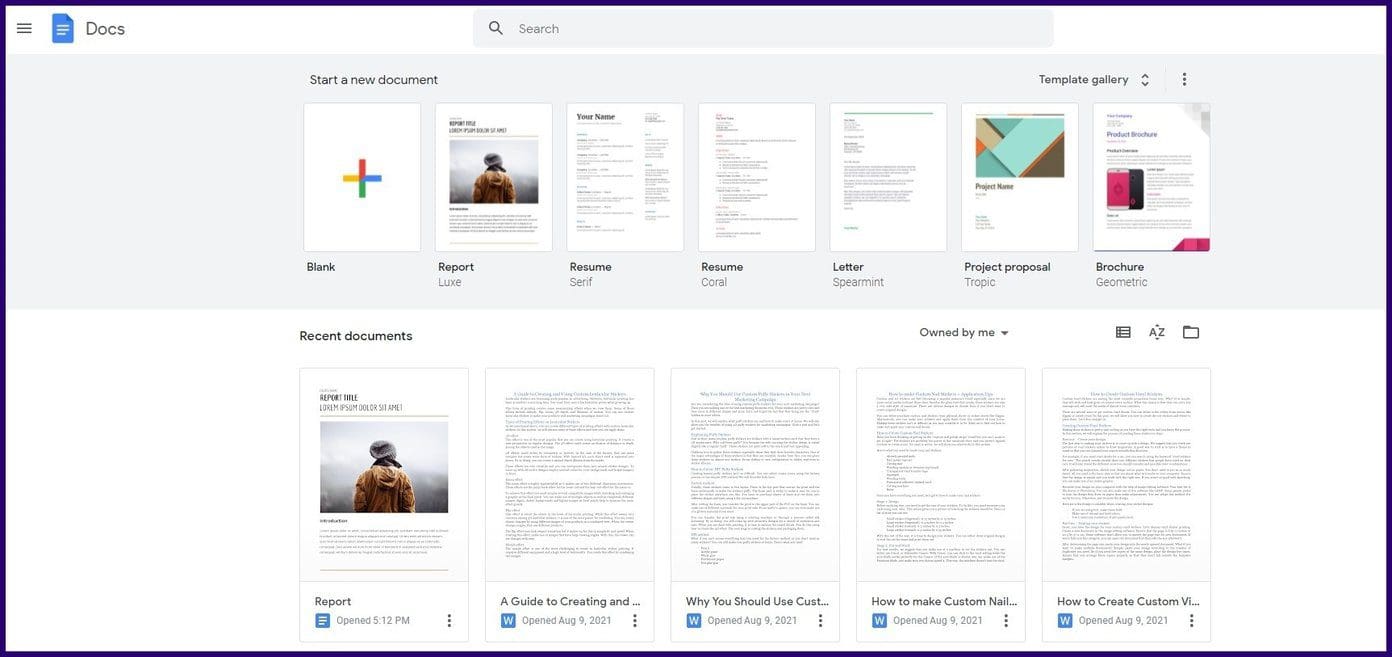
Step 3: Select the image in the document
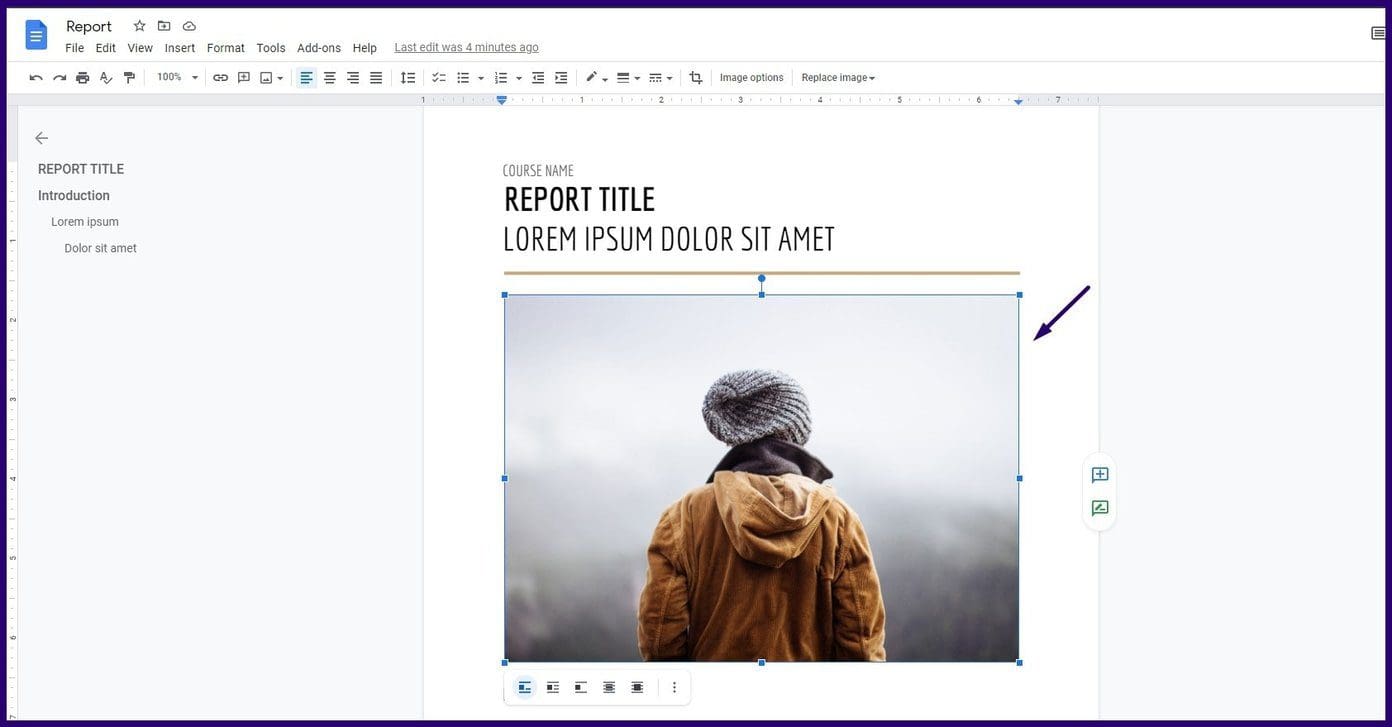
Step 4: Click on the Edit that appears beneath the picture to launch the Drawing tool.
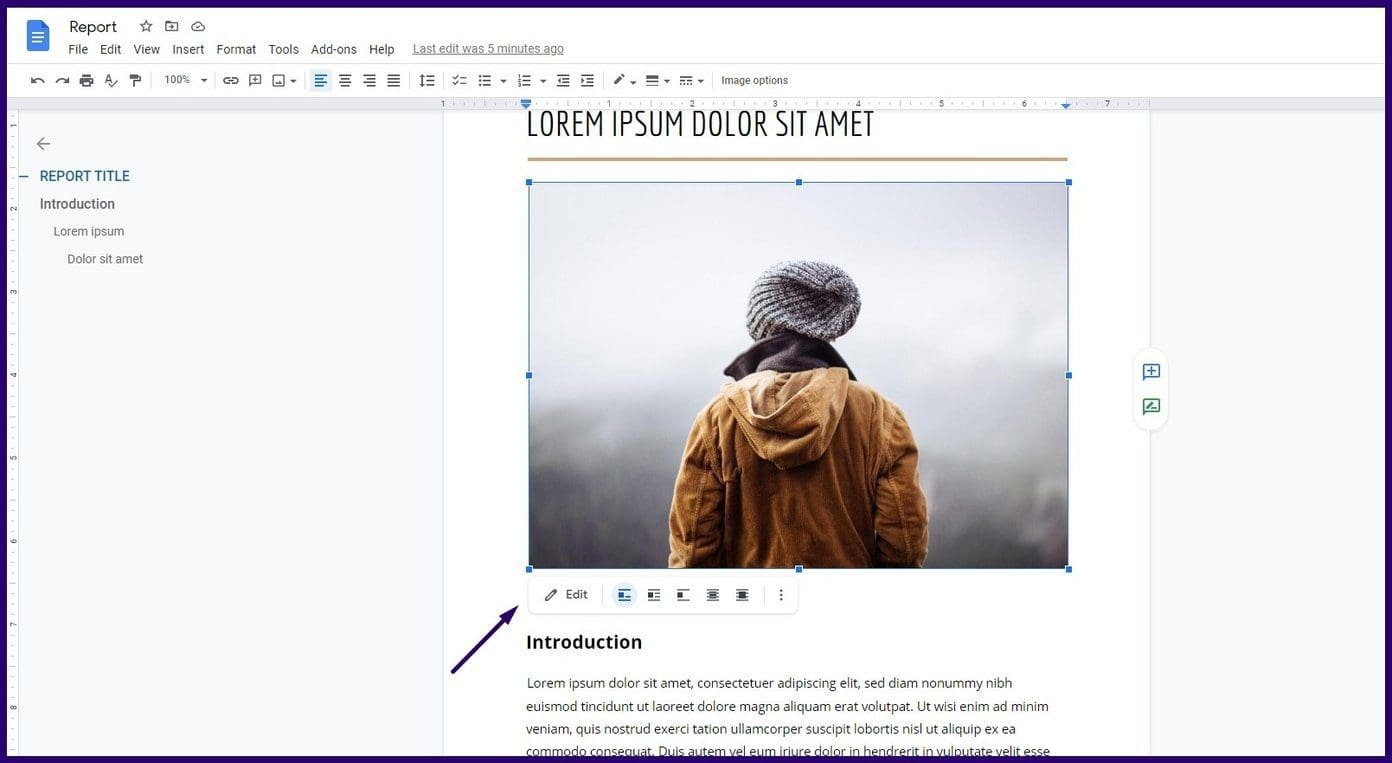
Step 5: At the top of the Drawing tool, select the drop-down beside Actions.
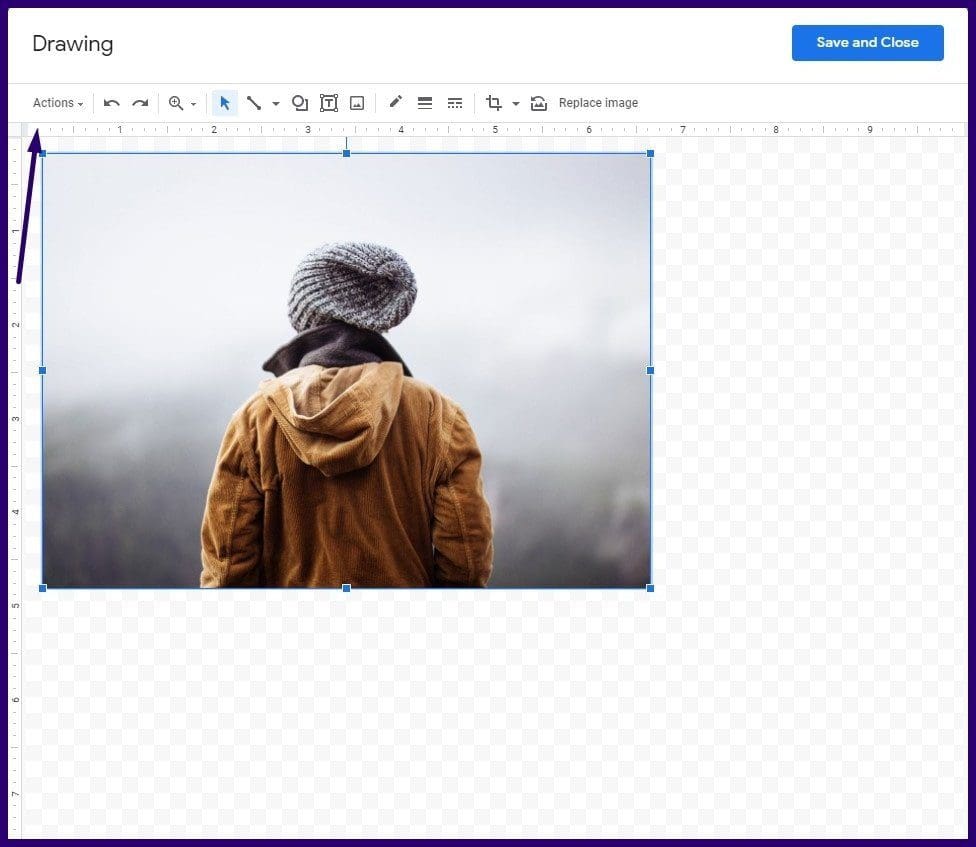
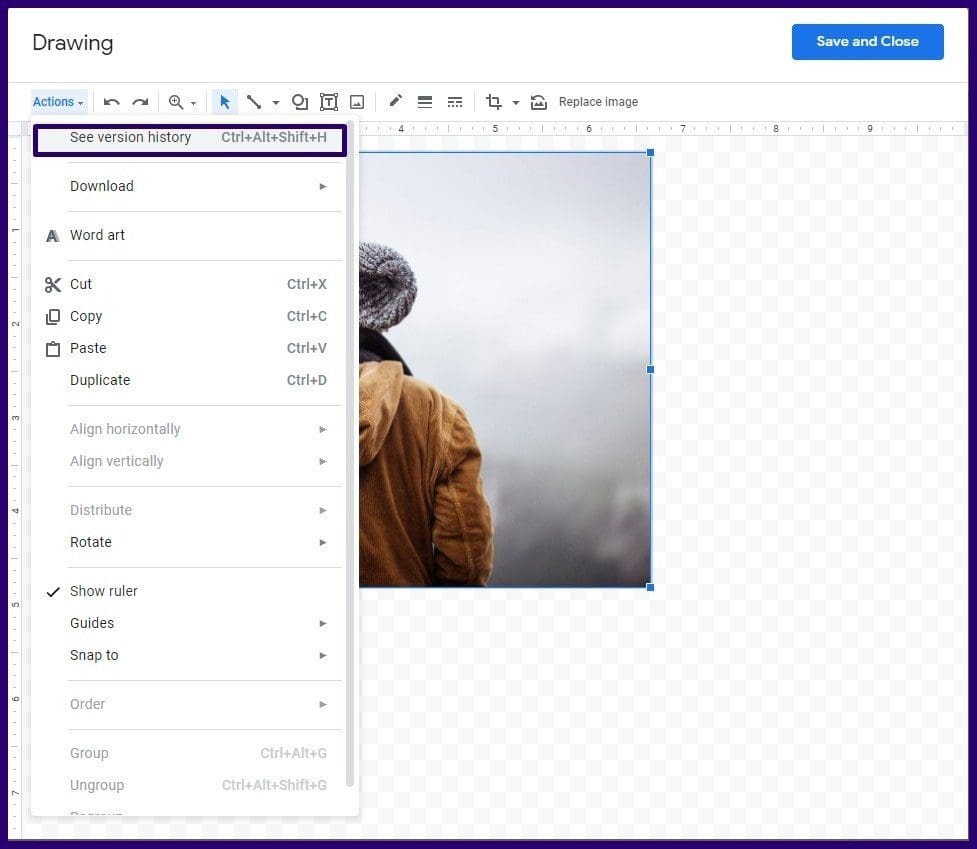
Step 6: Select See Version History to show all changes to the image.
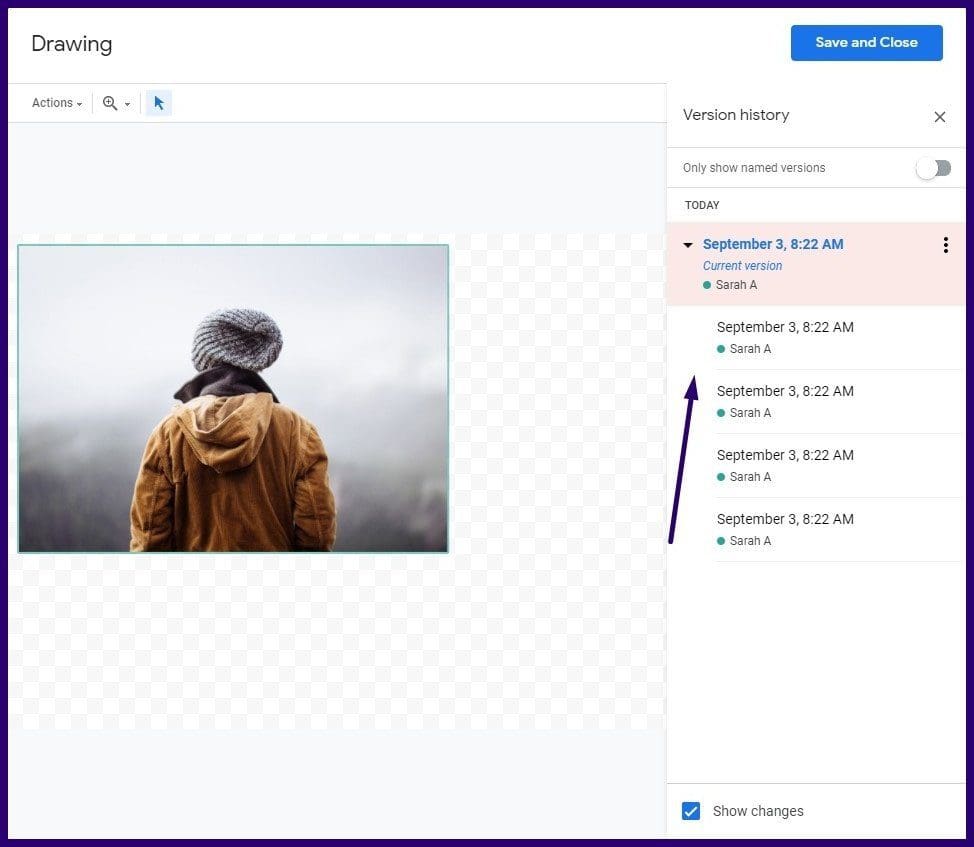
Step 7: Select the version you would like to restore.
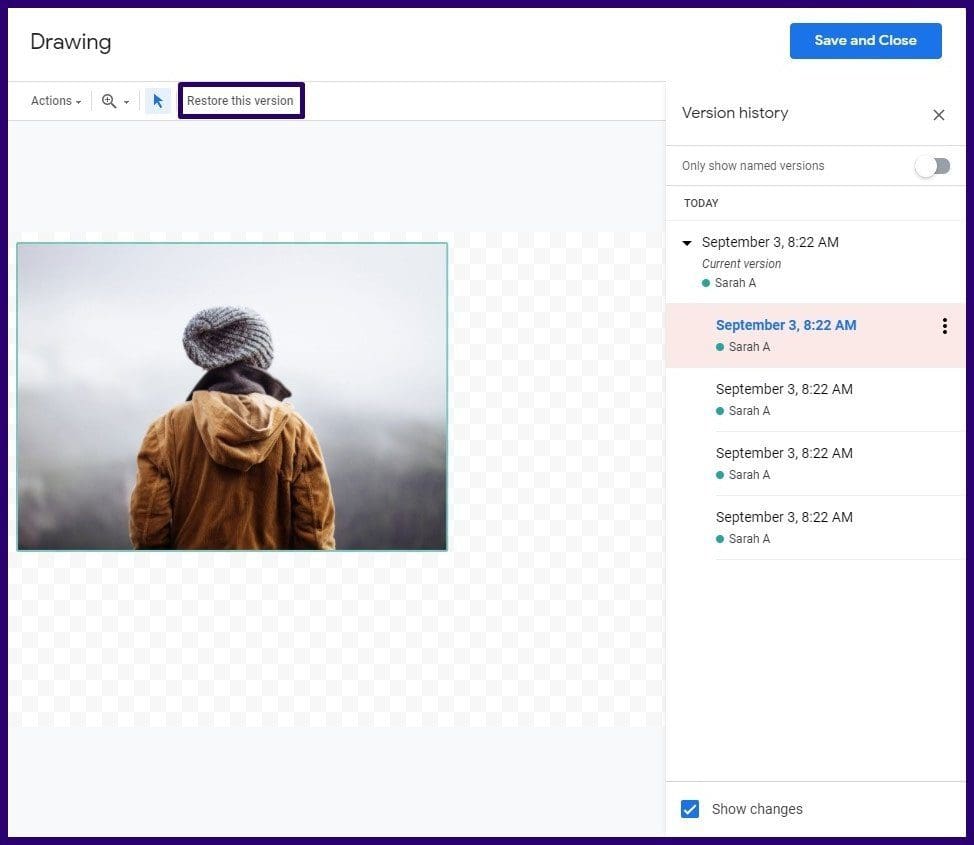
Step 8: Click on Restore this version.
Step 9: Select Save and Close to implement changes.

How to Flip an Image on Google Docs for Mobile
Flipping images in Google Docs on a mobile phone isn’t as straightforward as it is on the web. There is no drawing tool on the mobile app like you have in the web version. Notwithstanding, most smartphones have a default photos app that can be used to perform the flip action.
Check the steps below to insert flipped images into Google Docs for mobile.
How to Flip an Image on an iPhone
To flip an image on an iPhone, ensure the image is already saved on the Photos app. Once saved, follow the steps below:
Step 1: Launch the Photos app.
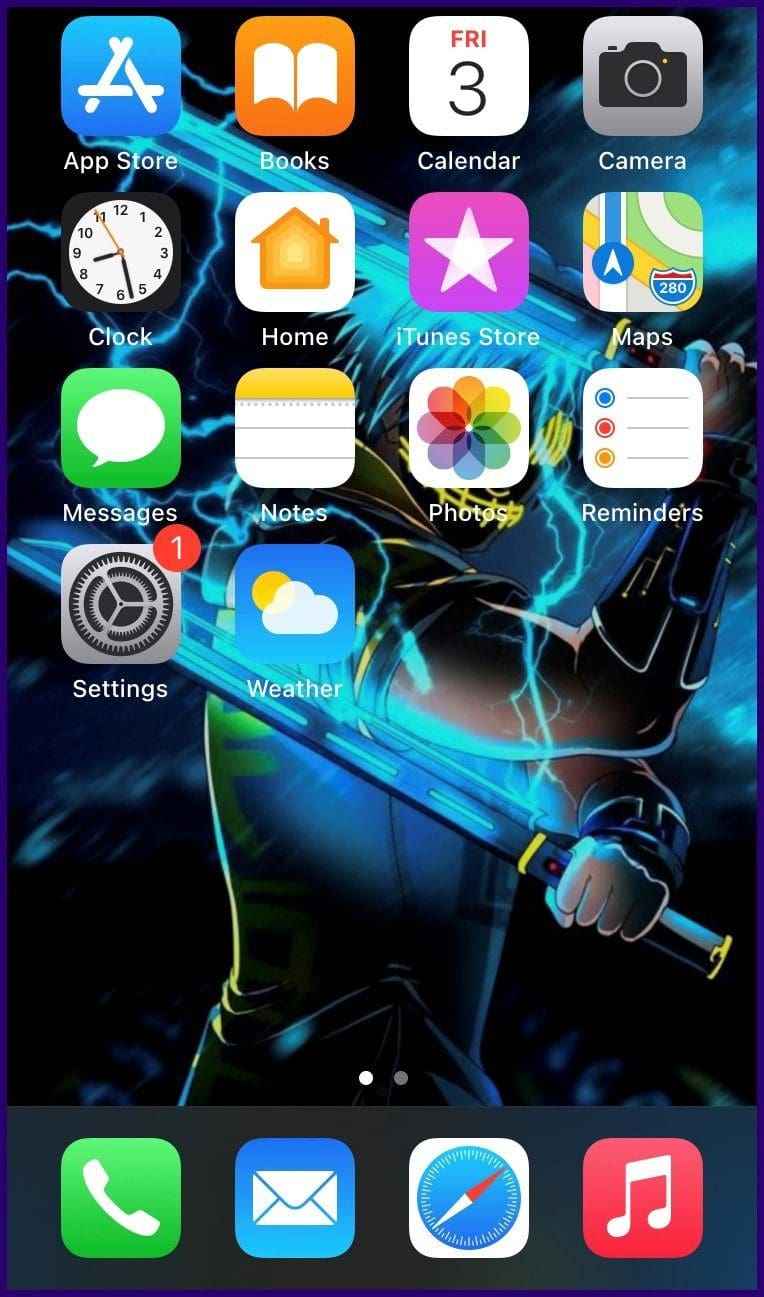
Step 2: Select the image to be flipped.

Step 3: Select Edit at the top right of the screen.

Step 4: Select the Crop icon at the bottom of the screen.

Step 5: At the top left of the screen, select the triangle to flip the image.

Step 6: Select Done to save changes.

How to Flip an Image on an Android
Different Android phone makers pack a gallery app that doesn’t have the flip photo feature. However, Android users can make use of Google’s free photo editing app Snapseed to flip images. Here’s how it works:
Step 1: Download and install Snapseed.

Step 2: Launch the app and select the + icon to load an image.

Step 3: Select the image to be flipped.

Step 4: After the image loads in Snapseed, tap the Tools tab.

Step 5: Select Rotate from the list of options.
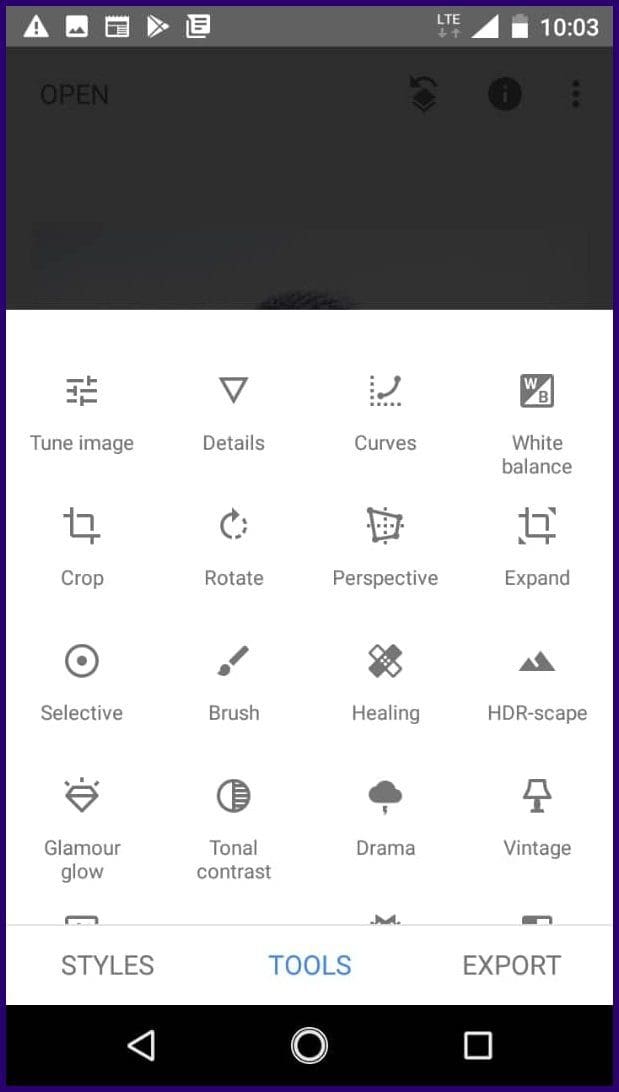
Step 6: Tap on Flip which is represented by two arrowheads facing inward.
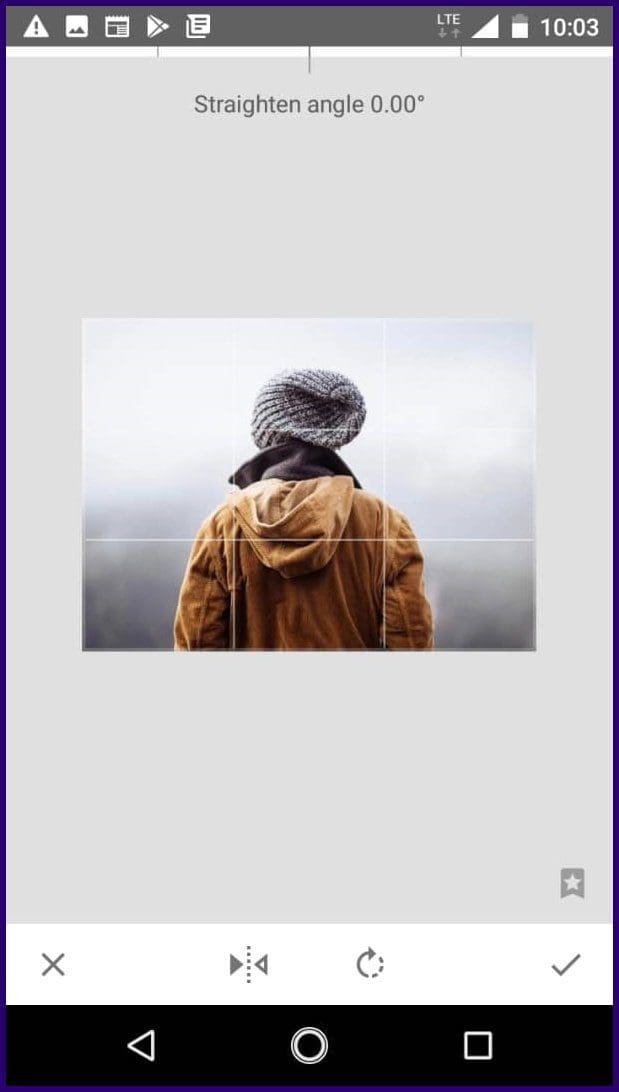
Step 7: Tap the tick mark located at the bottom-right of the screen to save changes.
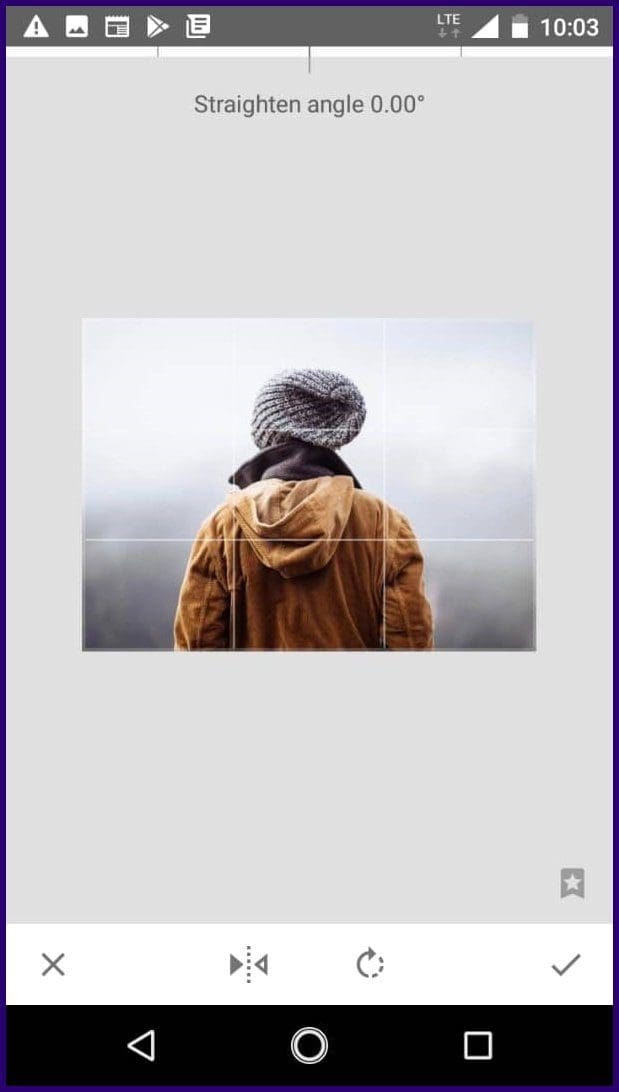
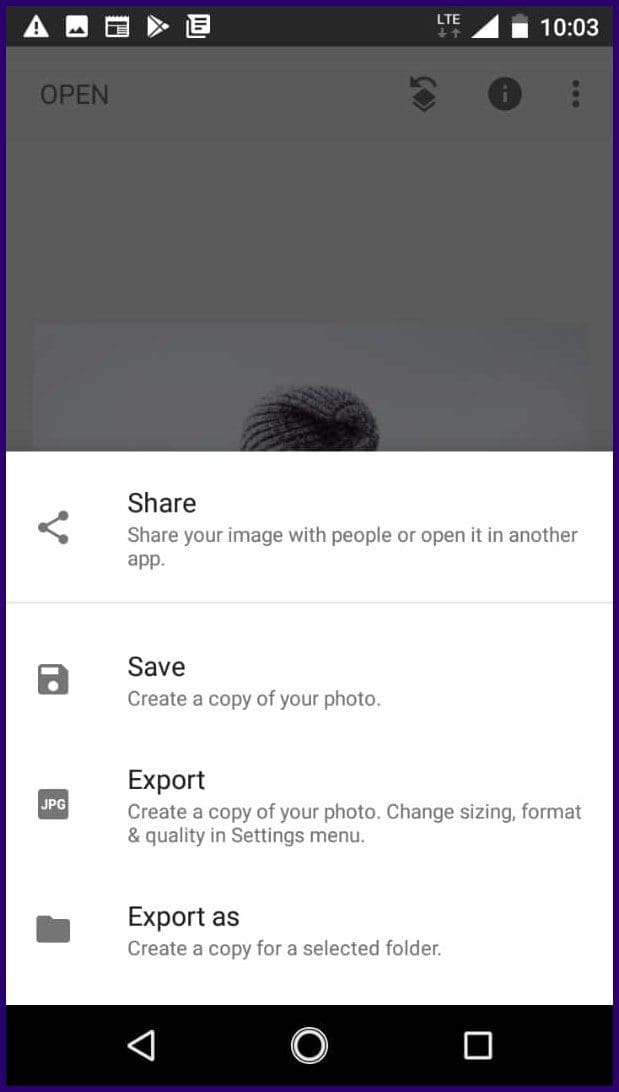
Step 8: Save the image to your device by tapping Export and Save.
Insert Flipped Image in Google Docs for Mobile
After flipping the image on your iPhone or Android, you can now insert it in Google Docs. Here’s how to do so:
Step 1: Launch Google Docs.
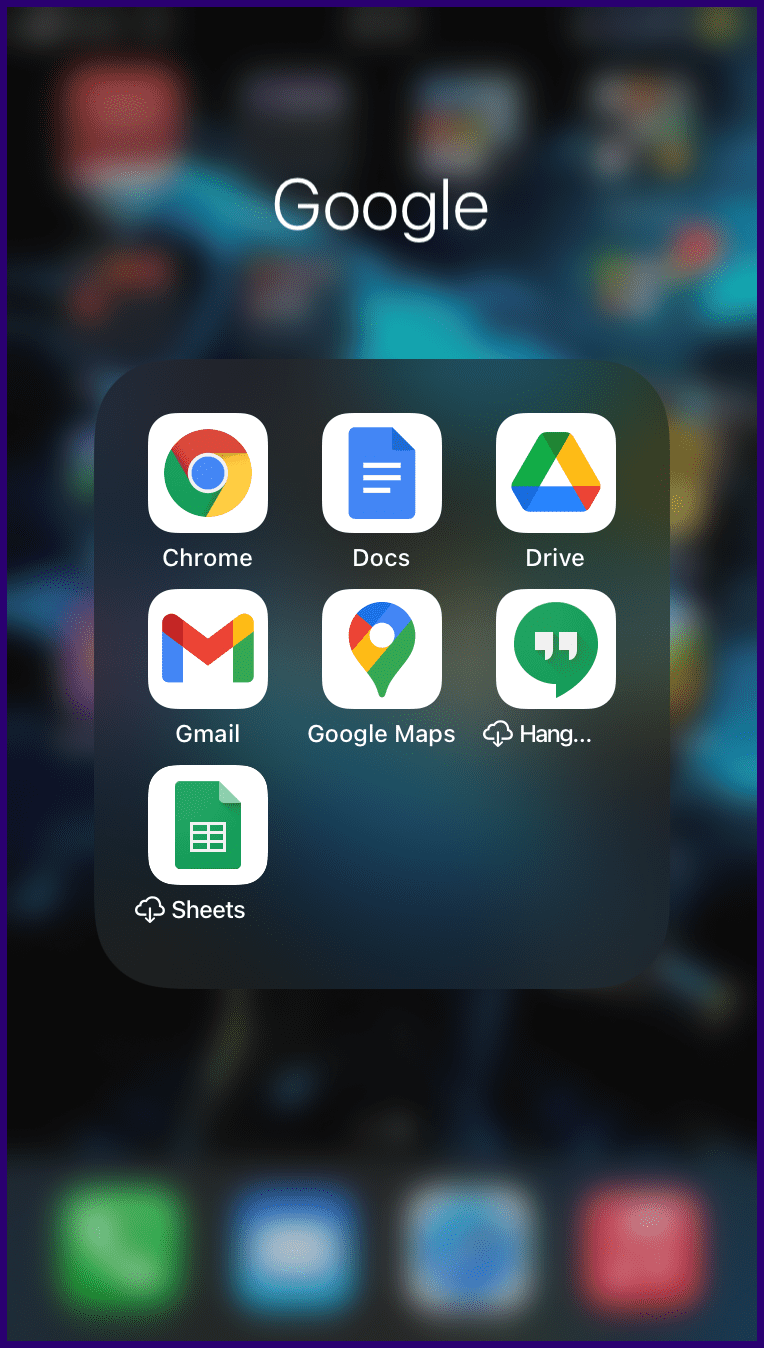
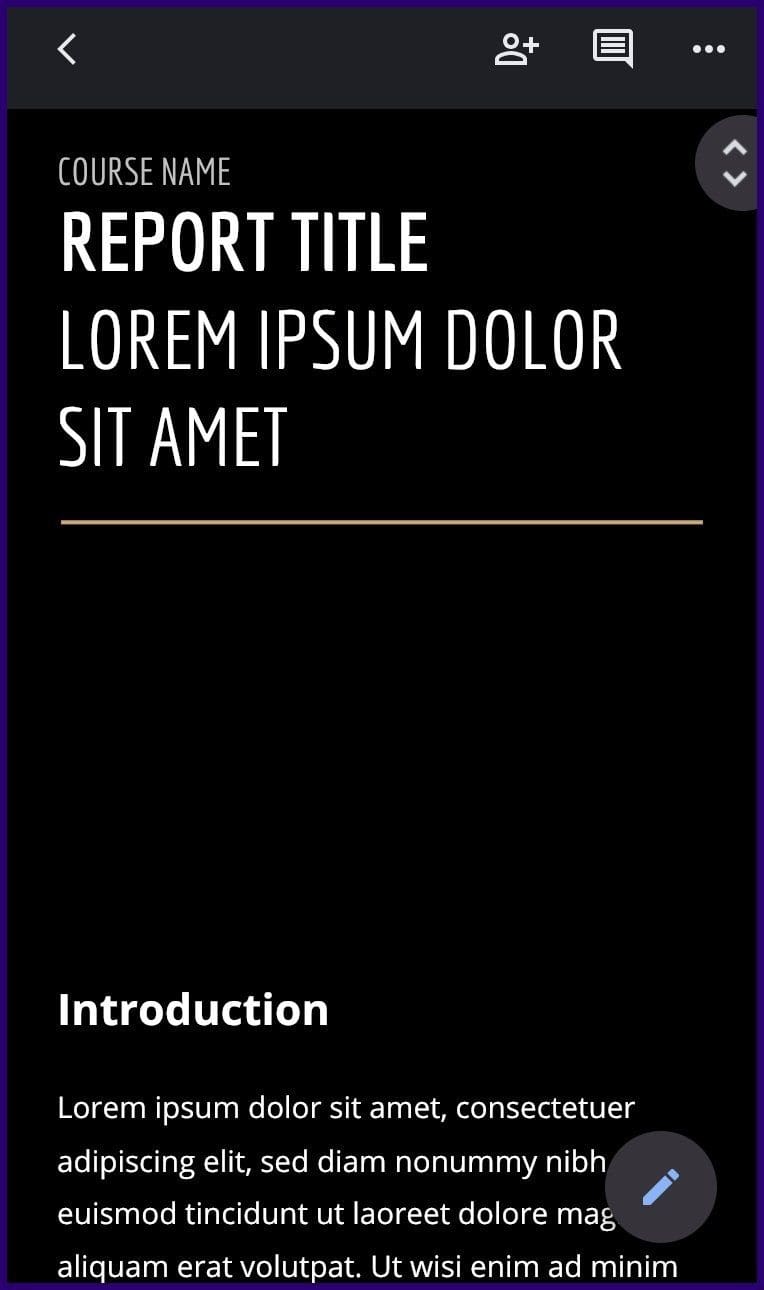
Step 2: Open the document for the image.
Step 3: Select the Edit icon.
Step 4: Select the + sign at the top of the page.

Step 5: Select Insert Image.
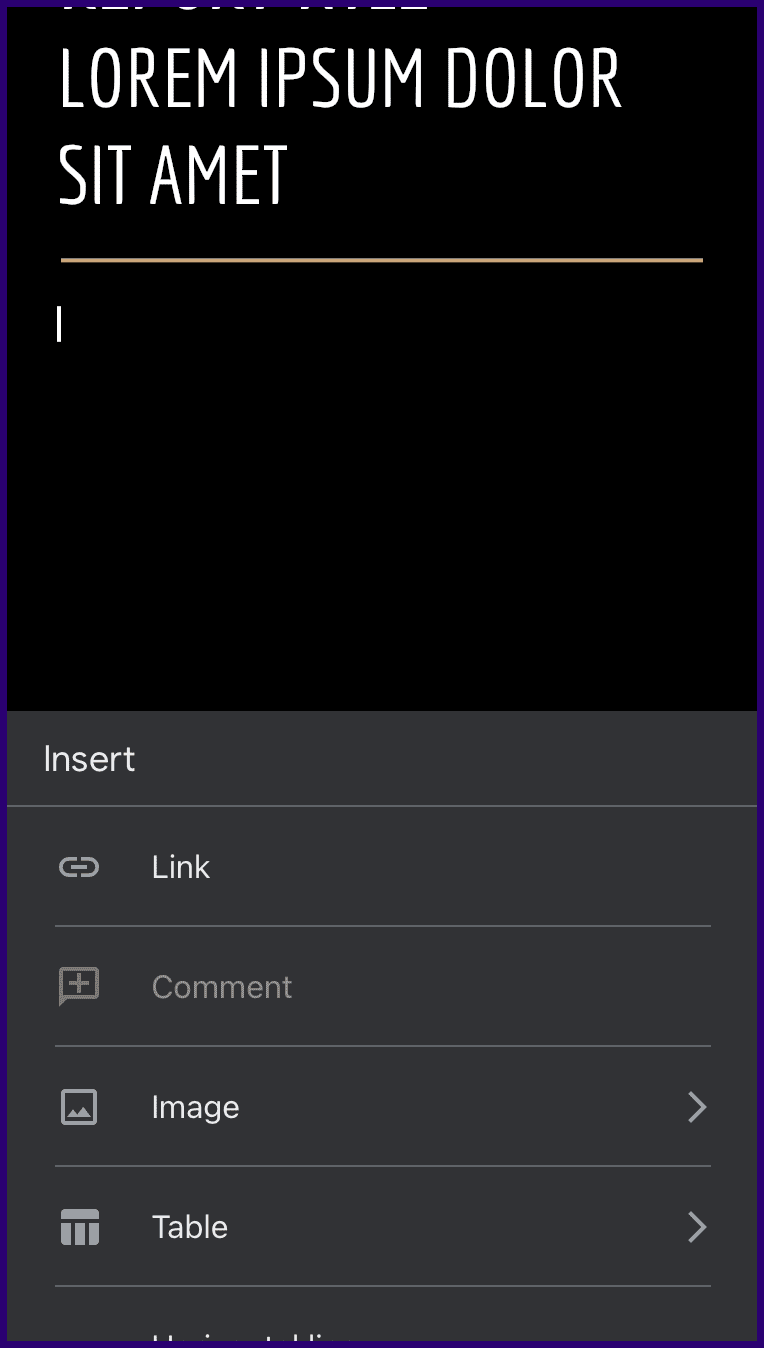
Step 6: Select From Photos.
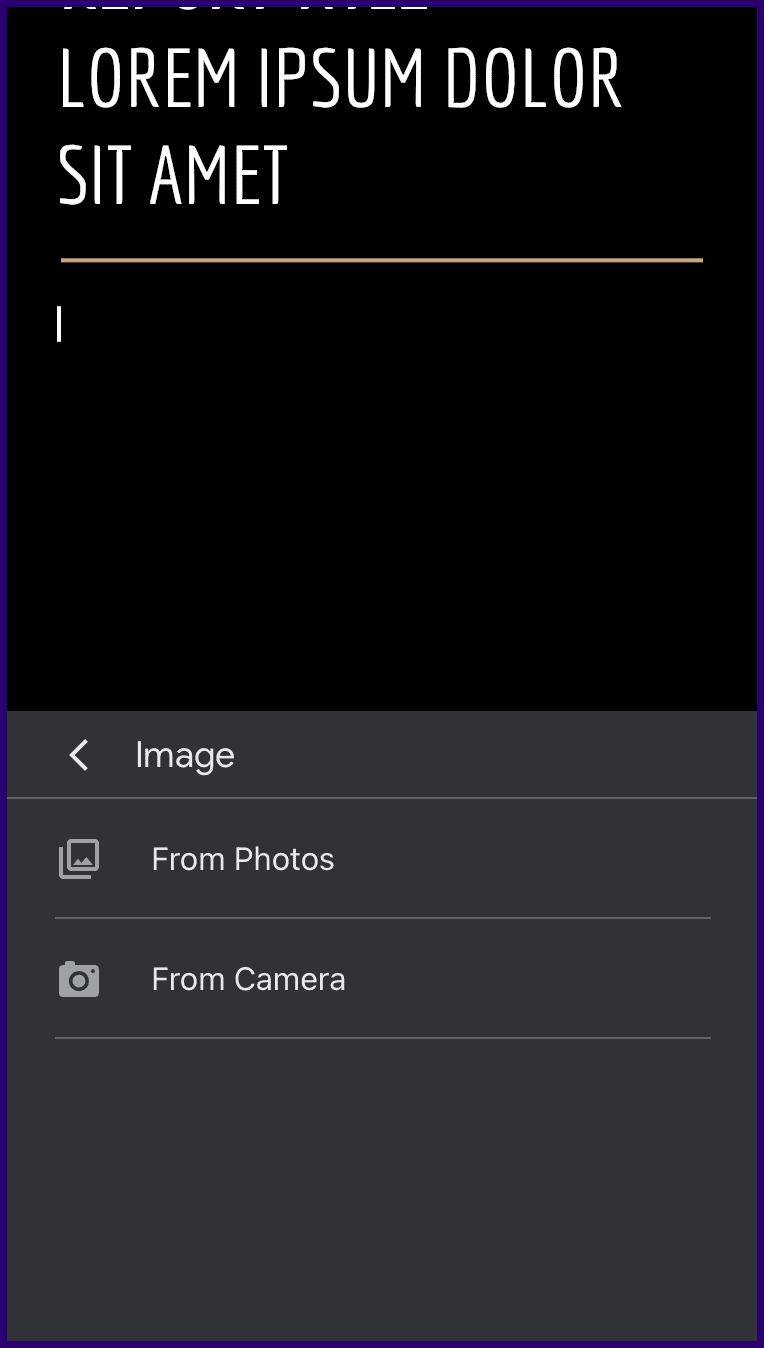
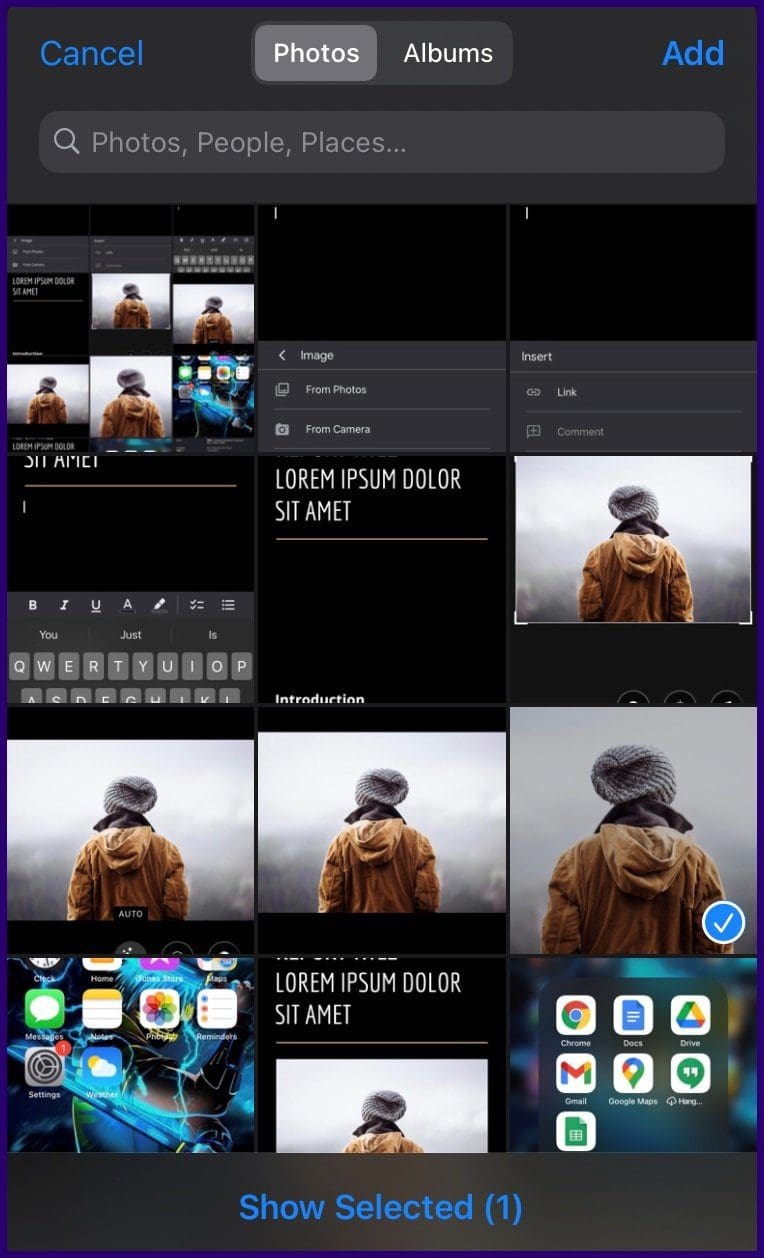
Step 7: Choose the flipped image from Gallery and click on Add.
Saving Images From Google Docs on Phone and PC
Although flipping an image on a mobile app isn’t quite as straightforward as for PC, the process isn’t difficult. Also, you can save those images from Google Docs to your phone or PC.


