How to Create Email Templates in Microsoft Outlook

One of the best ways to save time on repetitive tasks is by creating templates. The template helps provide a structure or form for any content. For example, in Microsoft Outlook, users can create email templates instead of creating emails from scratch each time.

These email templates come in handy when the outgoing emails have the same content or similar structure. To create an email template on Microsoft Outlook, users can either use the Quick Parts feature or My Templates add-in. Here’s how it works:
Create Email Template Using Quick Parts in Microsoft Outlook
Quick Parts is a gallery in Microsoft Outlook that contains reusable content such as text and images. Users can conveniently select these items and insert them into emails, meeting requests, tasks, etc. Here’s how to use Quick Parts to create an email template:
Note: Microsoft introduced Quick Parts in Outlook 2007 to replace AutoText that was present in previous versions.
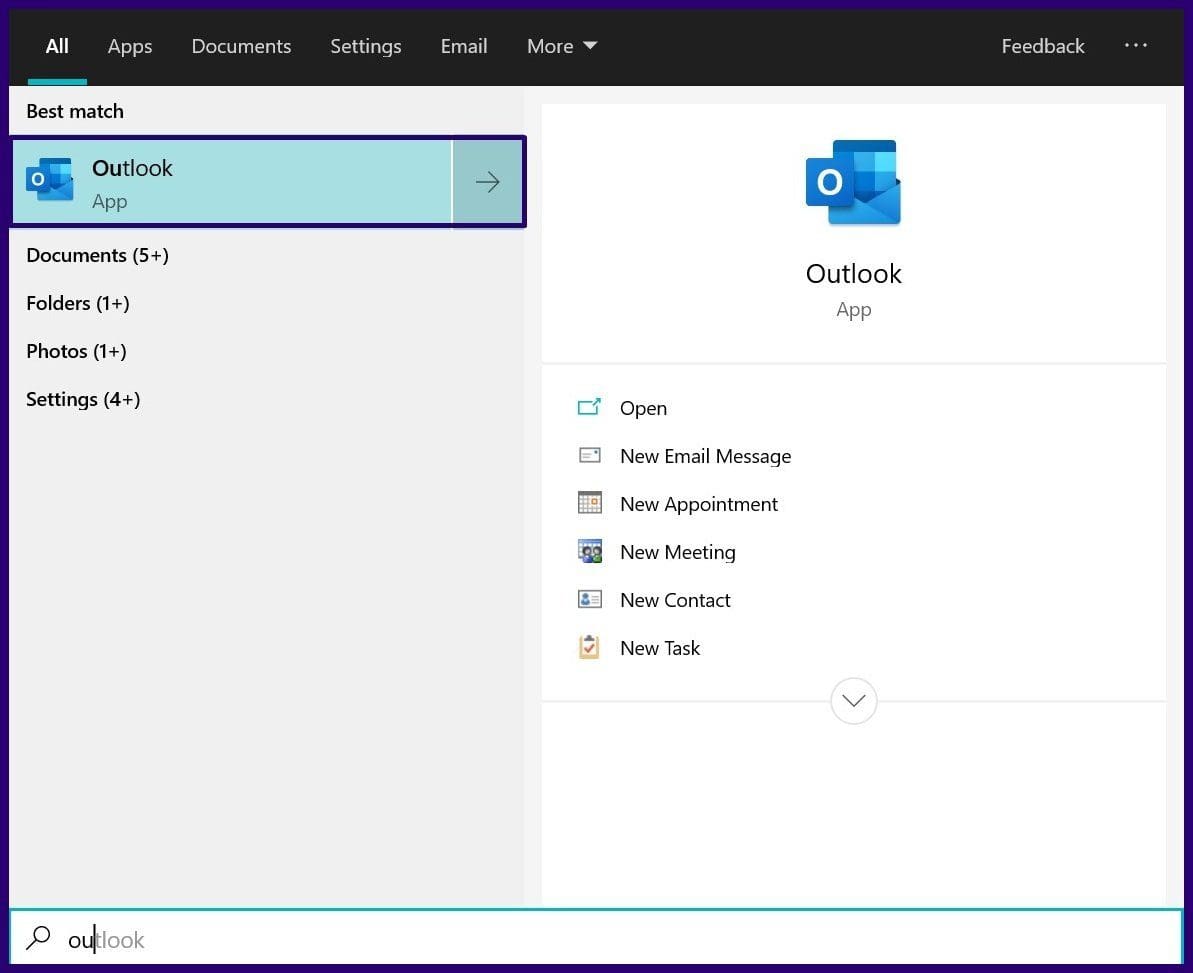
Step 1: Launch Microsoft Outlook on your computer.

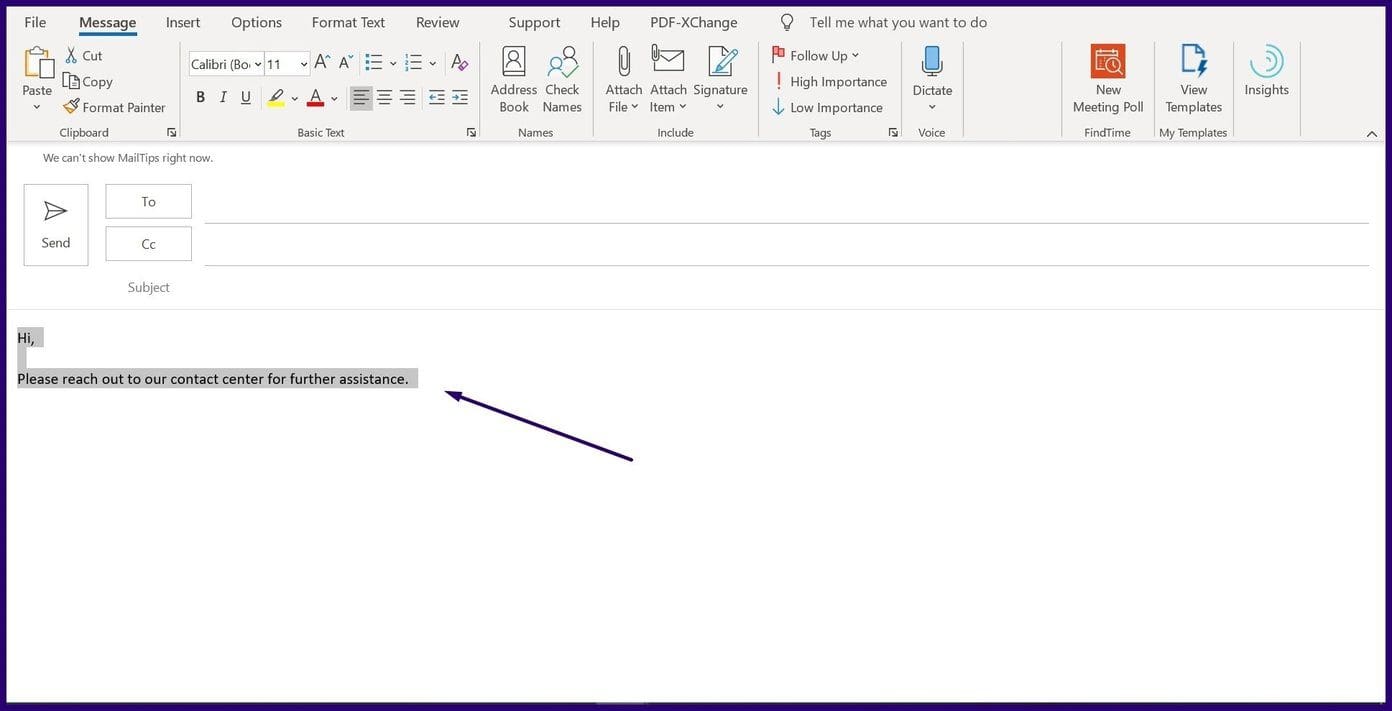
Step 2: From the Ribbon, select New Email to create the mail to be saved as a template.

Step 3: Highlight the text of the mail.

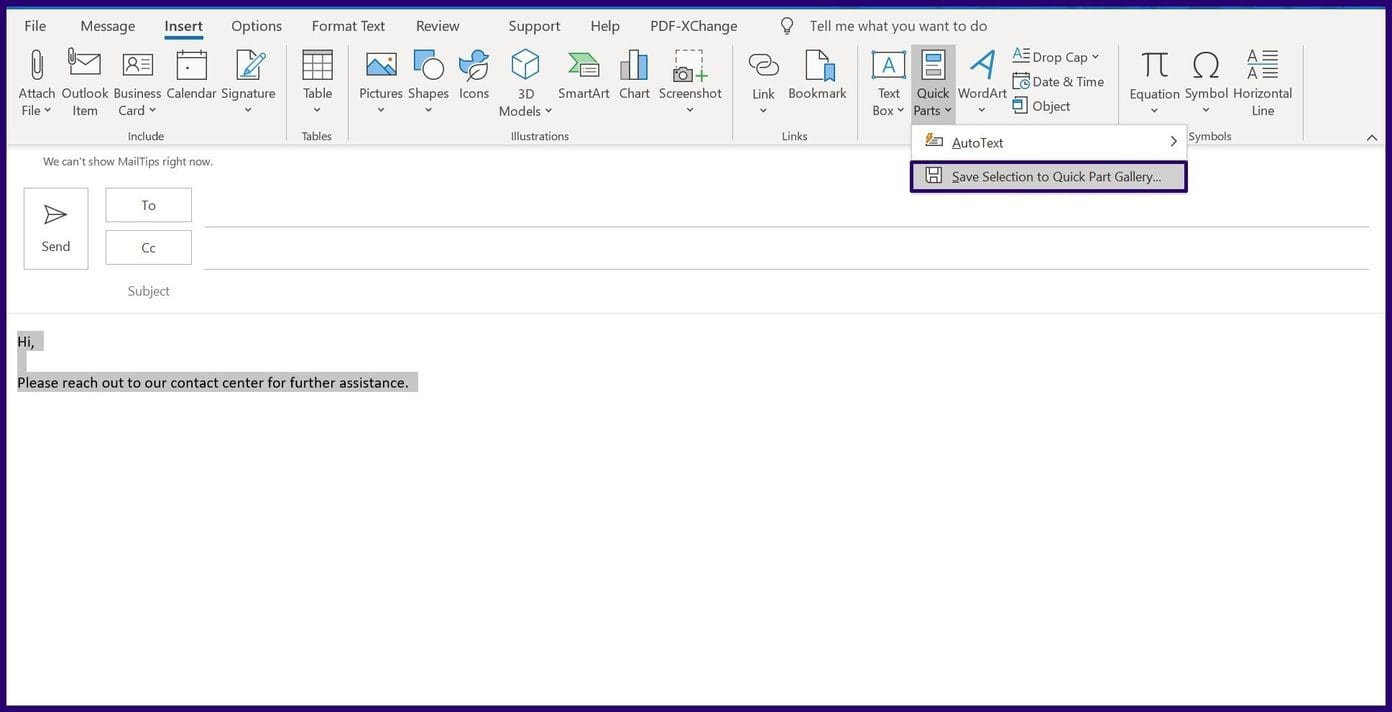
Step 4: Click on the Insert tab and on the Text group, click on the Quick Parts drop-down.

Step 5: From the options listed, select Save Selection to Quick Part Gallery to launch a dialog box.

Step 6: Within the dialog box, fill in the relevant details for the fields below:
- Name: This is the unique identifier for each entry. Quick Parts lists the names in alphabetical order. You will find this very useful when you have several entries.
- Gallery: Outlook helps you to save your Quick Parts content to specific galleries. This is very helpful when you have tons of templates stored up.
- Category: You should stick to General except when you need additional grouping for your templates. Categories are like sub-folders, and they belong to galleries.
- Description: This is a comment that helps to describe each entry or template. You never see this attribute so there’s no need to bother about it.
- Save In: To ensure that the content is available for use in Outlook emails, use NormalEmail.dotm. You can also isolate your entries by template.
- Options: This attribute helps to determine how you insert each entry.

Step 7: Click on OK to save the details of your new entry. You can always access this entry for different purposes, including creating emails.

Step 8: To use the new template, go to the part of the email where you need the template to appear.
Step 9: Select Quick Parts and click on the template to be used.

Note: Any item saved in Quick Parts is only available locally on the PC.
Create Email Template Using the My Templates Add-In
My Templates is an add-in provided by Microsoft to facilitate a one-click text entry. With this feature, users can store frequently used phrases and add them to emails when needed. This feature comes pre-installed on Outlook; however, users must have an email account with a Microsoft Exchange server.
Here’s how to use the My Templates add-in:
Note: My Templates add-in is available on Microsoft Outlook 2019, 2016, and 2013 as well as Microsoft 365.
Step 1: Launch Microsoft Outlook.

Step 2: From the Ribbon, select New Email.

Step 3: On the Messages tab and within the My Templates group, click on View Templates.

Note: If the View Templates add-in isn’t preconfigured on the Outlook Ribbon, select File and Manage Add-Ins to install it.
Step 4: On the new dialog box, click on Template.

Step 5: In the empty text boxes, provide a title and the body of the email.

Step 6: Click on Save to ensure the template is available anytime you need it.

Step 7: Click on the newly created template to transfer it to the body of the email.

Note: Templates created using My Templates add-in are stored on your mailbox and can be accessed from anywhere.
Creating Email Templates in Gmail
Whether using the Quick Parts feature or the My Templates add-in, you can easily create simple templates on Microsoft Outlook. You can also create Templates on other mail apps such as Gmail using Gorgias.


